Step 1: Open Your Photos
To combine pictures on an iPhone, start by opening the Photos app, which is identified by a colorful flower icon. This application holds all the images stored on the device, such as family portraits, snapshots of friends, or pictures of favorite places.
When the Photos app is opened, all the pictures are displayed on the screen. Users can scroll up or down to view additional images. If the app is not immediately visible on the home screen, swiping left or right should help locate it. Tapping on this icon will open the app and grant access to the photo library.
It is essential to perform this step correctly since viewing the images is crucial for selecting the ones to be combined. Taking the time to open the Photos app will prepare the user for the subsequent steps in the process of merging images. This foundational step sets the stage for seamless photo combination, ensuring all necessary pictures are accessible.
Step 2: Pick Your Pictures
Opening the Photos app on your iPhone is a bit like uncovering a treasure chest filled with cherished memories. Within this digital vault, you’ll find images of family, friends, pets, and those memorable trips you’ve taken.
Begin by reflecting on which two pictures you’d like to pair. Consider this task as piecing together a small puzzle where each photo complements the other. For instance, you might have a delightful snapshot of a friend’s smile alongside an awe-inspiring sunset scene. Alternatively, pair a humorous selfie with an image of your favorite dessert.
The key is selecting images that harmonize well, akin to classic combinations such as peanut butter and jelly or cookies and milk. Once your choices are clear, tap on one picture and then tap “Select” located at the top right corner.
Proceed by tapping on the second picture. Both images should now be highlighted, signifying that you’ve made your selection. You’ve now successfully prepared your pictures, ready to proceed with combining them in the following steps.
Step 3: Copy the Second Picture
After selecting the two photos to combine, it’s time to prepare the second one for merging. This step involves copying the second image, similar to making a photocopy for reuse.
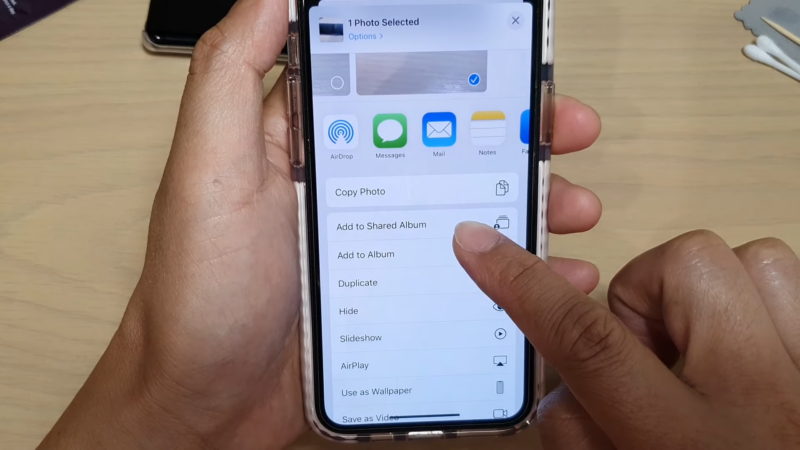
To begin, tap the Share button, represented by a square with an arrow pointing upwards, located at the bottom left corner of the screen. When the menu appears, look for the option labeled Copy Photo.
Tapping this option places a copy of the picture onto your device’s clipboard. The clipboard acts as a temporary storage space, keeping the image handy for the next step in the process.
Ensure the second picture is copied correctly before moving forward. This quick action is crucial, as it ensures the picture is set and ready for further steps. Take a moment to double-check that everything is in place to ensure a smooth merging process.
Step 4: Paste the Second Picture
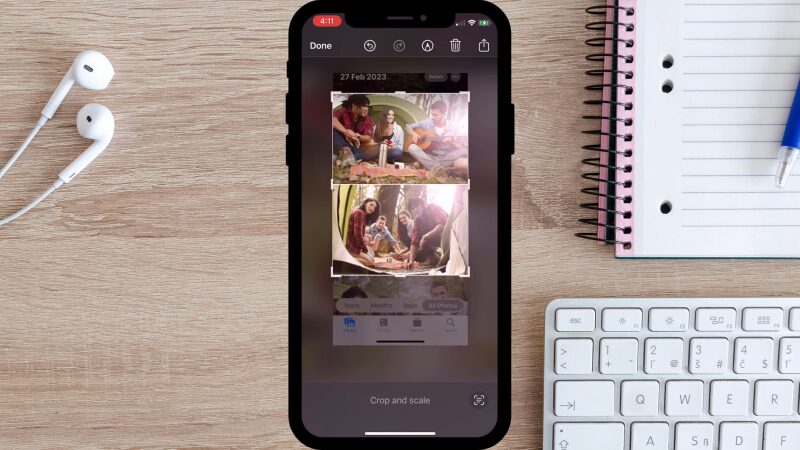
After copying the second picture, navigate back to the photo library by tapping the “< Photos” button. Open the first picture that was chosen and click on the “Edit” button located at the top right.
Once in editing mode, tap on the three dots (…) at the top. From the pop-up options, select “Markup.” At the bottom right corner, click on the “+” symbol to add elements to your photo.
Select “Paste” from the menu that appears. This action overlays the second picture on top of the first one. Use your fingers to move, resize, or rotate the second picture until it fits perfectly.
When satisfied with the placement, tap on “Done” at the bottom right to save the changes. This completes the step and prepares the edited photo for further adjustments or saving.
Step 5: Adjust and Merge
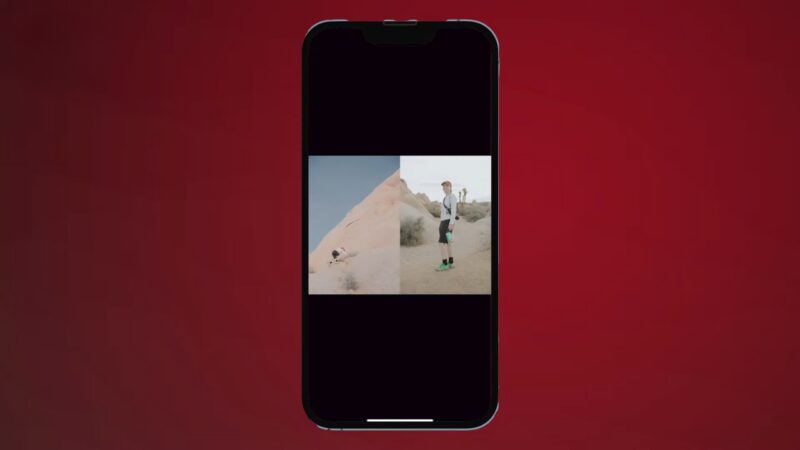
In this stage, the second image should be positioned over the first one for a seamless fit. Move the second picture by touching it and dragging it with a finger. If the size doesn’t seem right, use two fingers to either pinch to shrink or stretch to enlarge it. For rotation, twist your fingers until the picture aligns as desired.
Ensure the arrangement looks perfect by experimenting with different positions and sizes. The key here is to achieve a look that satisfies personal aesthetic preferences. This might involve multiple adjustments until the images align just as imagined.
Once the images are aligned satisfactorily, tap the “Done” button located at the bottom right of the screen. This action finalizes the arrangement. There is just one more final step to complete the process before the combined image is ready to be shared with everyone.
Step 6: Save Your Combined Picture
When you are satisfied with the appearance of your combined photos, it’s crucial to ensure that your edits are saved. Tap on the Done button once more to finalize your combined image. To save everything, click Done again at the top right. This finalizes the saving process, adding your new creation to your iPhone’s photo gallery.
Having the picture saved in your gallery means it will be readily accessible whenever you want to share it with friends and family. Saving the image prevents any risk of losing your work and allows for future edits if needed. Think of this step as placing your combined picture in a memorable, easily retrievable place. Save your combined photo now and take pride in your creative work!
Using Screenshots to Merge Multiple Pictures
Combining photos via screenshots is quick and involves minimal steps. This method works well when grouping photos from a specific album. Here’s a step-by-step guide:
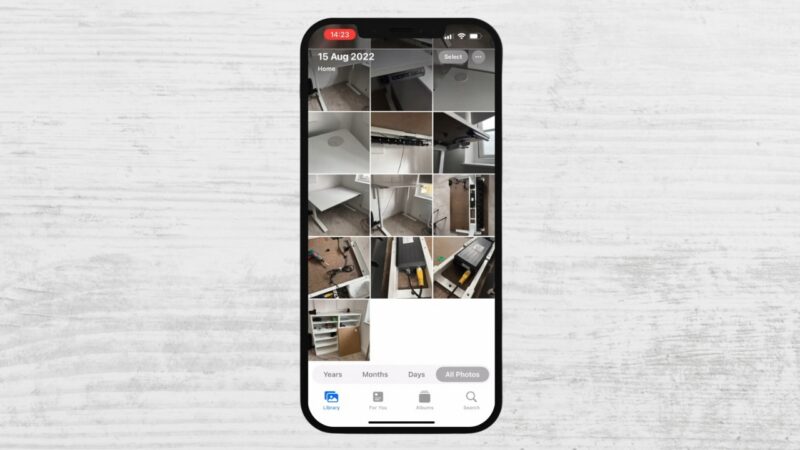
- Open the Photos app.
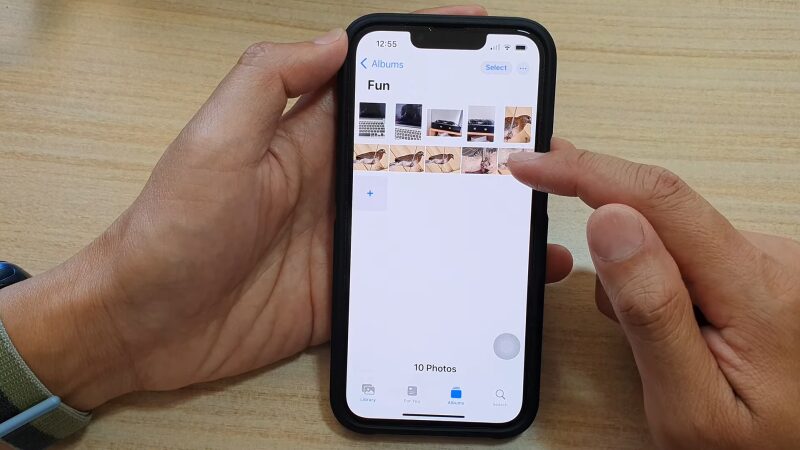
- Select ‘Albums’ and choose the album you want to work with, excluding ‘Recents’.
- Tap the three dots on the upper right and pick ‘Add Photos’ to include more images in your album.
- Tap ‘Sort’ then ‘Custom Order’. Drag photos into the desired arrangement.
- Hold down either volume button and the power button simultaneously to take a screenshot.
- Open the screenshot in the Photos app, tap ‘Edit’, and crop to include the desired photos.
- Save your edited screenshot by tapping ‘Done’.
Adding Text or Drawings to Your Collage
Use Markup to add personal touches like text or sketches. Here’s how:
- Open the collage created with the screenshot method.
- Tap ‘Edit’ and then the pen icon (Markup tool).
- Select a pen to draw, customizing its color and thickness.
- Tap the ‘+’ for more options like adding text or a signature.
- When satisfied, tap ‘Done’ twice to save the collage.